Our Energy-Efficient Window Installation Experience with Coastal Windows & Exteriors
It’s great to be back with you! If you need a refresher, I’m Jen from the blog Migonis Home. My husband and I are updating our early 1900s Cape-style home. Last time, I shared what a critical measurement session looked like with a Coastal Windows & Exteriors window installer.
Today, I’m excited to tell you how the installation of our energy-efficient replacement windows went this past weekend. To say I felt excited would be an understatement. Once Rocky took the final measurements, I hoped he’d call to schedule our install.
Thankfully, Rocky’s supervisor from Coastal Windows & Exteriors called and set the date for Saturday. From that point on, I counted down the days with excitement. On Saturday morning, I completely embarrassed myself by stepping outside at 6 a.m. in my pajamas. I wanted to take some quick “before” photos before the team arrived.
I’ll return in the next few weeks with true “after” photos so you can see the new construction window installed.
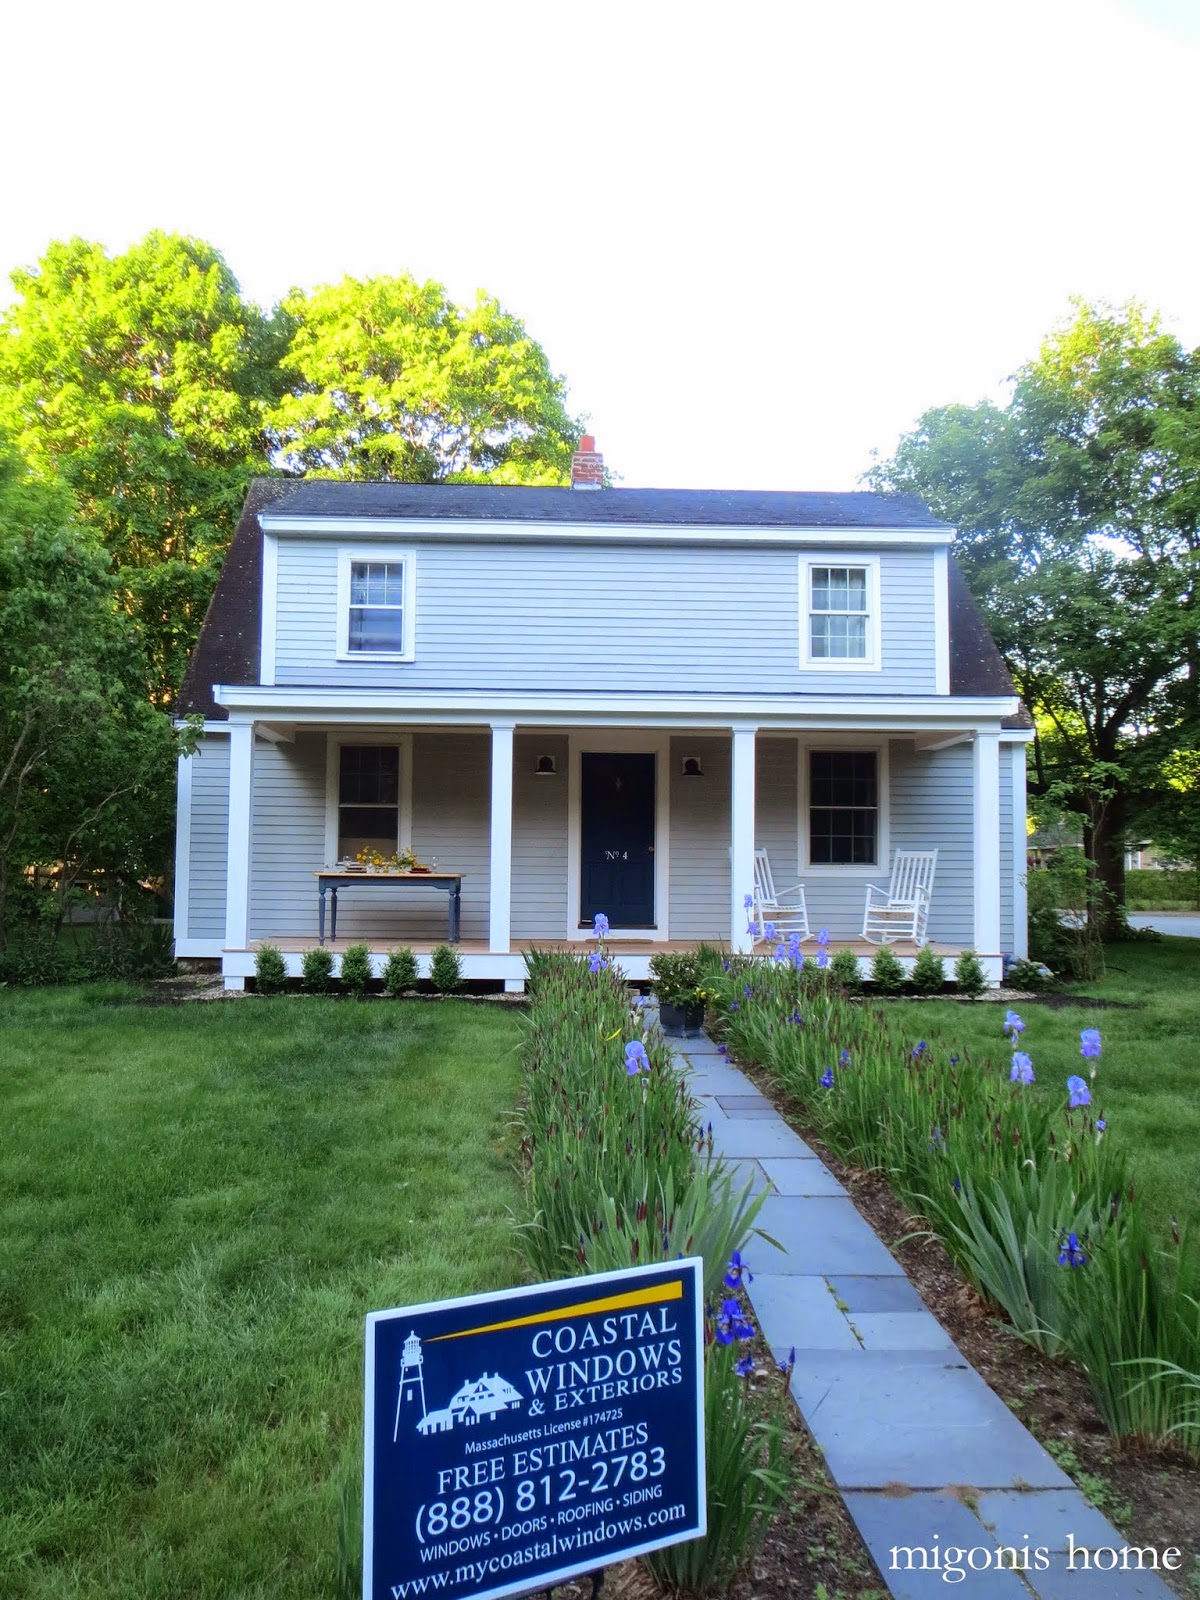
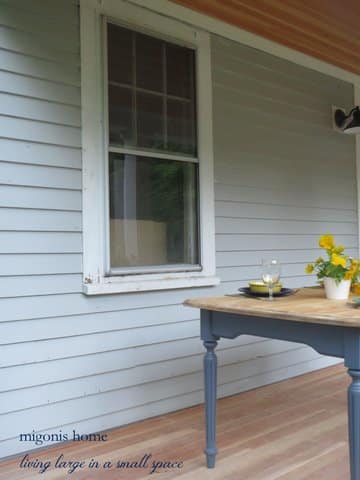
Our windows were old and original to the house. It seemed that no matter what we did we couldn’t make them both energy efficient and look good. Or, for that matter, we couldn’t do either. We could literally feel the breeze coming through them in the winter. Imagine the damage that does to an oil bill.
Cleanup and Living Room Transformation
The plan was for Coastal Windows & Exteriors to install four replacement windows for us. We needed three in the living room and one in Drew’s room. Then, we asked them to tackle a bigger project and install a new construction window in the center of the second floor.

Since we were about 100% certain the area contained lead (our house was built WAY before 1978 when lead was outlawed) some real safety precautions needed to be taken. Rocky and Steve put up a safety perimeter around the window with plastic and then taped off any place where lead dust could escape.
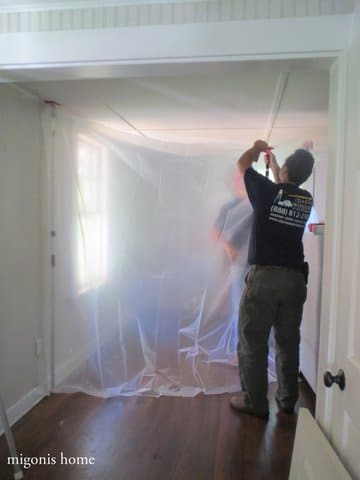
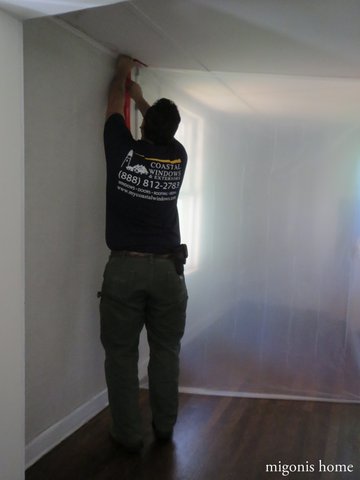
Rocky then donned his hazmat suit and mask and went into the plastic cave.

He disassembled the window like a machine. He obviously does this every day.
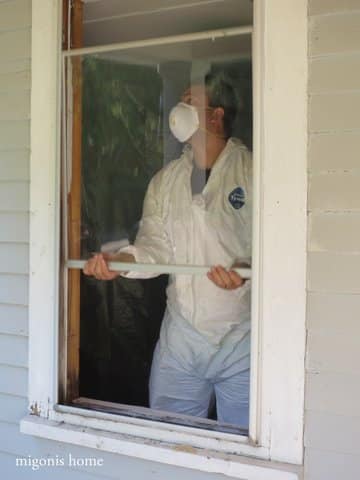
After the entire window was out the metal frame came off. Steve was Rocky’s right hand man through this and carted stuff away so it wouldn’t fall and damage the porch. Next the trim was pulled off and toss into the trash bag.
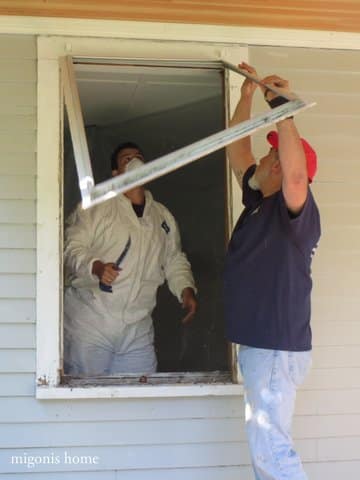
Good-bye noisy drafty windows with lead weights. You won’t be missed.

While Rocky and Steve disassembled the window Tommy, their third crew member, got all the replacement windows unloaded and ready for installation.
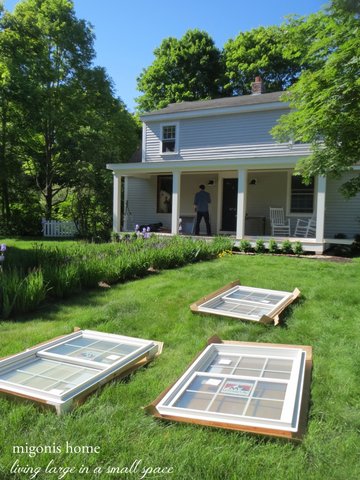
After the window was totally out the team built up the window frame with 2 x 4s. (our new windows were wider but slightly shorter)
After the windows were built up the team hung the window and nailed it into place. Tommy then took measurements and began cutting the clapboard to make room for the Azek trim work. Azek trim is definitely more money but it’s worth it if you don’t want to paint it for year or have it show wear and tear.
The Final Result (So Far!)
Whoo! One window is officially in!
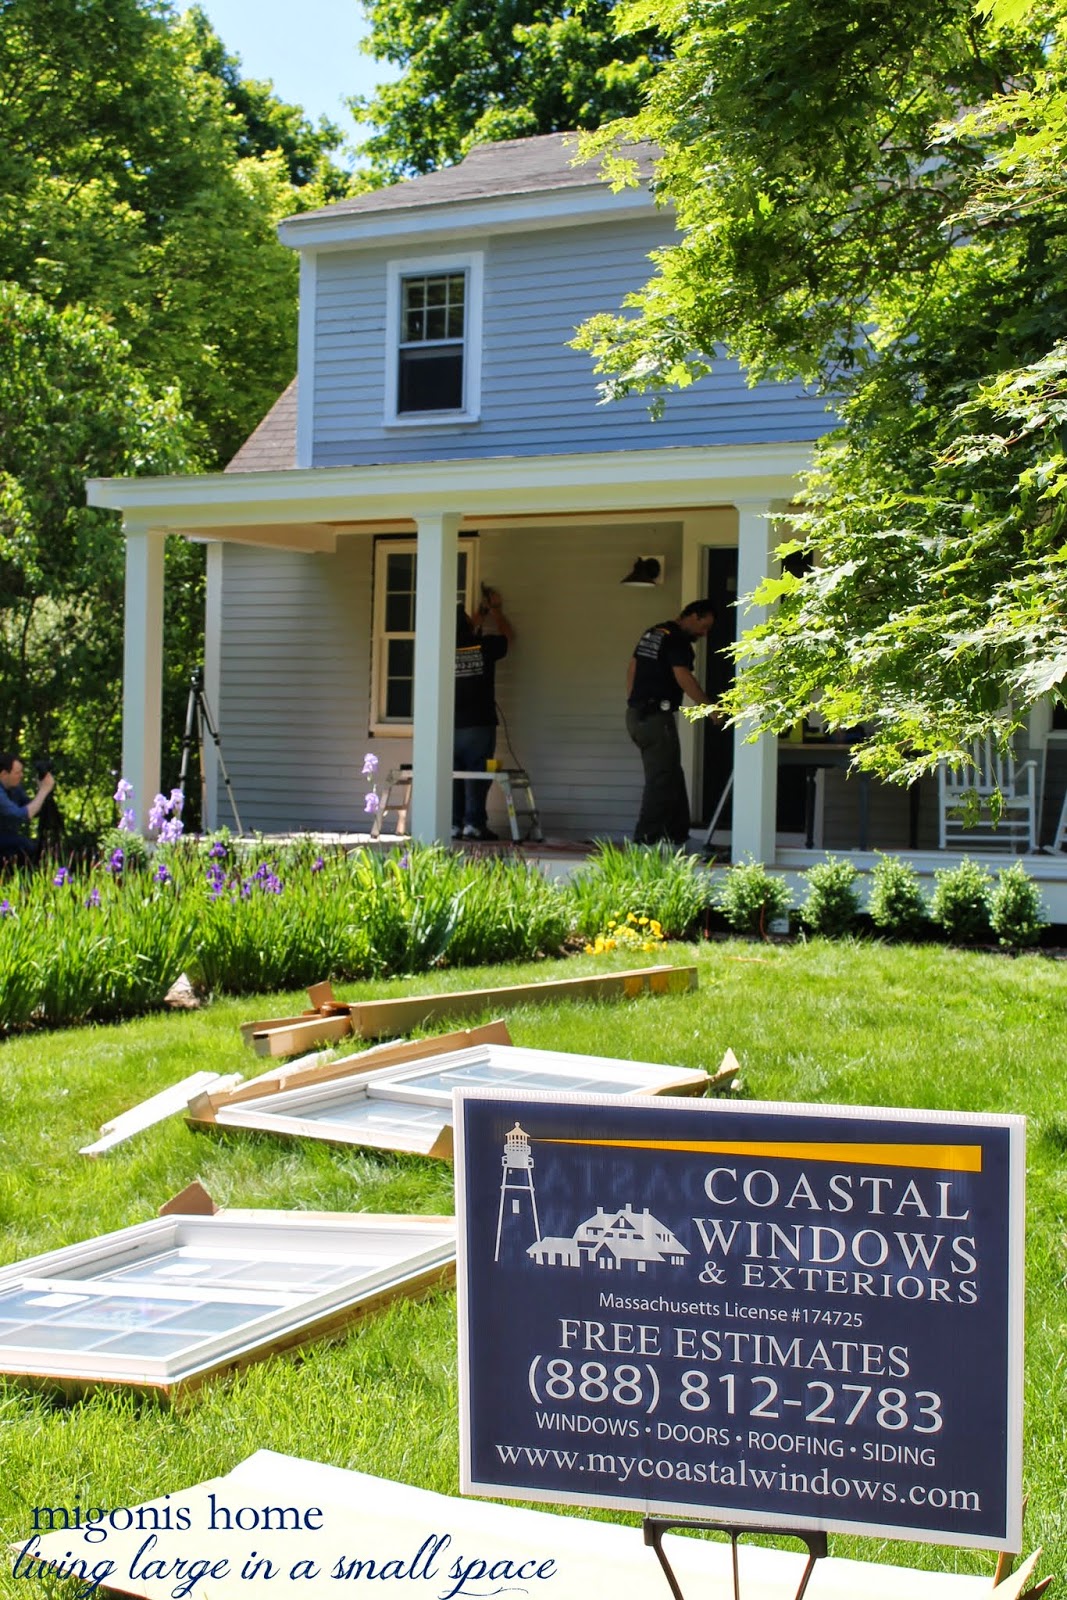
The guys were fastidious about cleaning up because of potential lead dust. The HEPA vacuum was super strength and Steve made sure to use the wet Swiffer over each area after thoroughly vacuuming.
The second window went exactly like the first, only faster. Rocky said the first window is always the learning curve because each house has windows installed differently. They did the windows on the side of the house next so they could finish off the living room and move into Drew’s room. Here we are with all the windows in the living room and Drew’s room done… the guys were just about to start cutting for the middle window here (that was an exciting moment!)One final shot of a finished window… such a difference from the second photo in the post today!
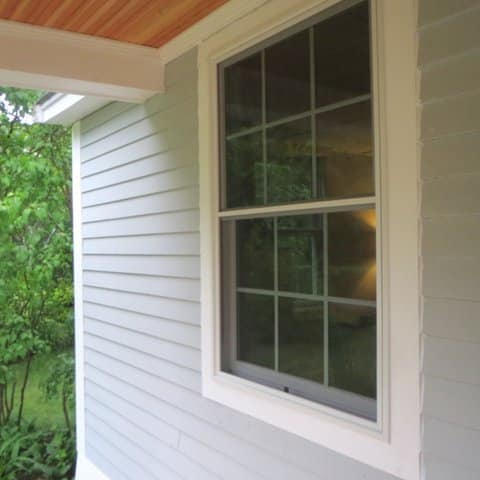
I’ll show you the photos of the two energy efficient replacement windows on the other side of the house at a later date… it desperately needs to be painted, it’s sort of embarrassing right now!


