Q: What is weather-stripping, and should I apply it to my windows and doors to prepare for winter?
A: Weather-stripping is a strip of material used to seal the joint between a window or door and its surrounding frame—like the sill, casing, or threshold. It helps block drafts, rain, snow, and cold air from entering your home.
Why Use Weather-Stripping?
If you’re looking for a temporary and affordable solution to stop drafts, reduce energy waste, and lower your heating bills, weather-stripping is a great option.
💡 Did you know? Drafty windows and doors can account for up to 40% of your heating and cooling costs!
That said, weather-stripping isn’t meant to be a long-term fix. Over time, the materials degrade, lose their seal, and require replacement.
4 Types of Weather-Stripping (Pros, Cons & Installation Tips)
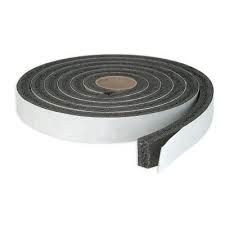
1. Self-Adhesive Foam
Made from open- or closed-cell foam, this option is sold in various widths and thicknesses.
✅ Pros:
Ideal for irregular-sized gaps
Closed-cell foam seals well and scores high in wind tests
❌ Cons:
Tends to peel off over time
Visually unappealing and not eco-friendly
Frequent replacement needed
🔧 Install: Cut to length, peel, and press into place.

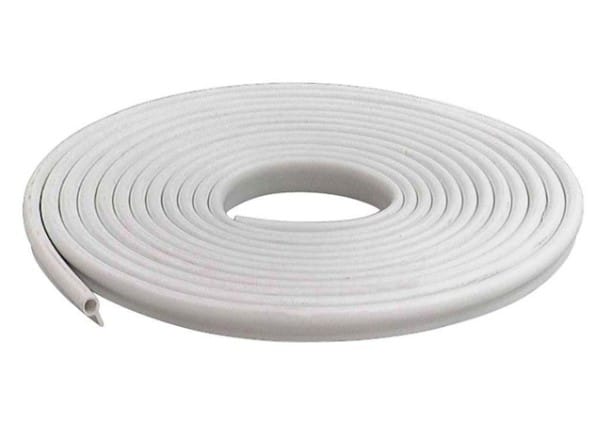
2. Tubular Rubber or Vinyl Gasket
These gaskets come mounted on strips and are typically used for doors.
✅ Pros:
Forms a strong air seal
Can be stapled securely in place
❌ Cons:
Bulky and visible
Prone to cracking and drying out
🔧 Install: Peel and stick, or staple to door frame.

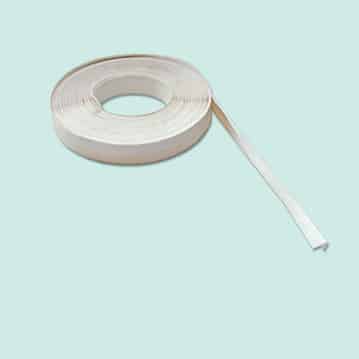
3. Spring V-Shaped (Tension Seal)
A durable spring strip that bridges gaps with a tight seal.
✅ Pros:
Highly effective and discreet
Long-lasting when properly installed
❌ Cons:
Can bend or misalign
Installation requires precision
🔧 Install: Peel and stick or use finishing nails.

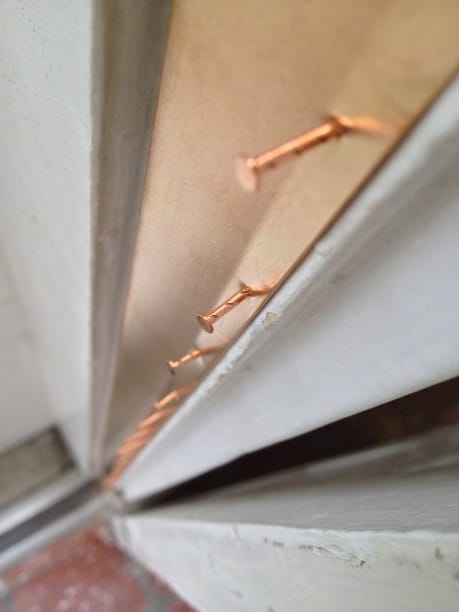
4. Nail-In Copper Weather-Stripping
This sturdy option includes pre-punched holes for nails.
✅ Pros:
Offers one of the most secure, long-lasting seals
❌ Cons:
Installation is tricky and often requires a professional
🔧 Install: Fit interlocking pieces around the door or window perimeter and notch them using a router.

Weather-Stripping Application Tips
Apply to a clean, dry surface when temperatures are above 20°F
Press snugly between both surfaces; ensure tight corners and full contact
For doors, apply a continuous strip along the entire jamb
For windows, be sure the strip doesn’t block proper function
How to Check for Drafts
Here are two simple methods:
Flame Test: Hold a lighter near your window or door frame. If the flame flickers, air is coming through.
Thermal Gun: Use a temp gun (or borrow ours!) to detect cold spots and thermal leaks.
These tools help you pinpoint air loss and determine whether your windows and doors are properly sealed.
Still Feeling the Chill?
While weather-stripping is a quick and cost-effective fix, it might not be enough for long-term comfort and efficiency. If you’re still dealing with drafts or energy loss, give us a call.
📞 Contact Coastal Windows & Exteriors at 978-304-0495
We’re happy to answer any questions about weather-stripping, insulation, or window and door upgrades to keep your home cozy all winter long.

